Penguin Fingerless Gloves
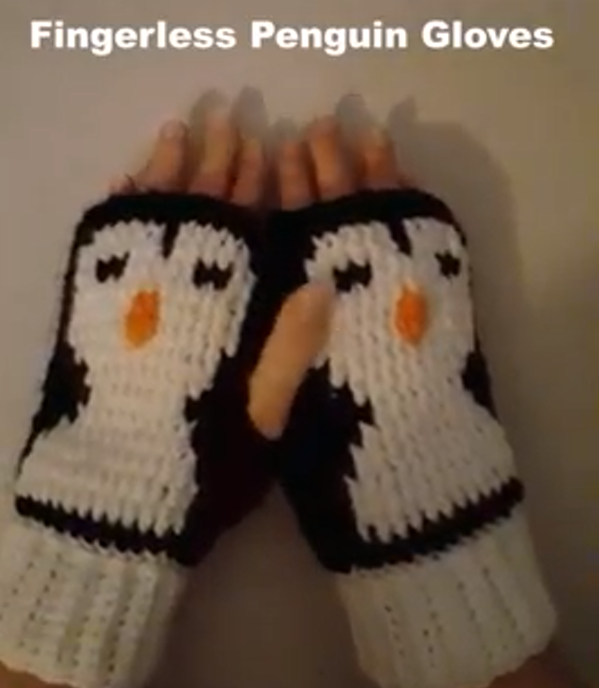
Crochet hook size: crochet hook size : H / 8 5.00 mm
Material: 4 ply worsted weight yarn. For the pattern I use the yarn colors: black yarn, white yarn, and orange yarn. (In this tutorial I used Red Heart super saver yarn; in the colors of heather gray yarn, white yarn and orange yarn. I used heather gray instead of black yarn in the video since it would be easier to see the stitches with lighter color yarn.
For the cuff (Make 2)
Start with a slip knot
With the 5.00 crochet hook chain 10
ROW 1 – Single crochet in each chain starting in the second chain from the hook. (you should have 9 sts when you finish this round 1).
ROW 2 – ch 1, turn, 1 sc into each st working in the back loops. (9 sts)
Repeat row 2 – 24 more times (you will have 26 rows when you are done) Or crochet until 7 ½ inches in length.
Seam the cuff together with slip stitches
ROUND 1 – Then without fastening off, working into the end of the rows will work on sc into each row (26 sts) – ch 1 to chain up and then work a sc into each sts 26 times since there were 26 rows for the cuff.
ROUND 2 – Changing to the black yarn, ch 3 to chain up, dc into the same joining st, and work 1 dc into each st around, until the last st, then inc (2 dc) into the last st. Join with a sl st to the top of the ch 3 (27 dc sts).
ROUND 3 – ch 3, fpdc into the first 5 sts, then into the next st work a fpdc changing to the next color white before finishing this 6th fpdc, then work 15 sts (15 fpdc) with the white yarn changing to black yarn again in the 15th st with the white yarn, then work fpdc into the last 6 sts of the round.
ROUND 4 – ch 3, fpdc into the first 6 sts, then into the next st work a fpdc changing to the next color white before finishing this 7th fpdc, then work 13 sts (13 fpdc) with the white yarn changing to the black yarn again in the 12th st with the white yarn, then work fpdc into the last 7 sts of the round.
ROUND 5 – ch 3, fpdc into the first 7 sts, then into the next st work a fpdc changing to the next color white before finishing this 8th fpdc, then work 13 sts (11 fpdc) with the white yarn changing to the black yarn again in the 12th st with the white yarn, then work fpdc into the last 8 sts of the round.
ROUND 6 – ch 3, fpdc into the first 8 sts, then into the next st work a fpdc changing to the next color white before finishing this 9th fpdc, then work 11 sts (9 fpdc) with the white yarn changing to the black yarn again in the 10th st with the white yarn,
then work fpdc into the last 9 sts of the round.
ROUND 7 – ch 3, fpdc into the first 9 sts, then into the next st work a fpdc changing to the next color white before finishing this 10th fpdc, then work 9 sts (7 fpdc) with the white yarn changing to the black yarn again in the 8th st with the white yarn, then work fpdc into the last 10 sts of the round.
ROUND 8 – ch 3, fpdc into the first 11 sts,
then into the next st work a fpdc changing to the next color white before finishing this 11th fpdc, then work 7 sts (5 fpdc) with the white yarn changing to the black yarn again in the 6th st with the white yarn, then work fpdc into the last 11 sts of the round.
The rest of the pattern is coming soon, please check back soon for the rest of the pattern and video tutorials for the Penguin Fingerless gloves.
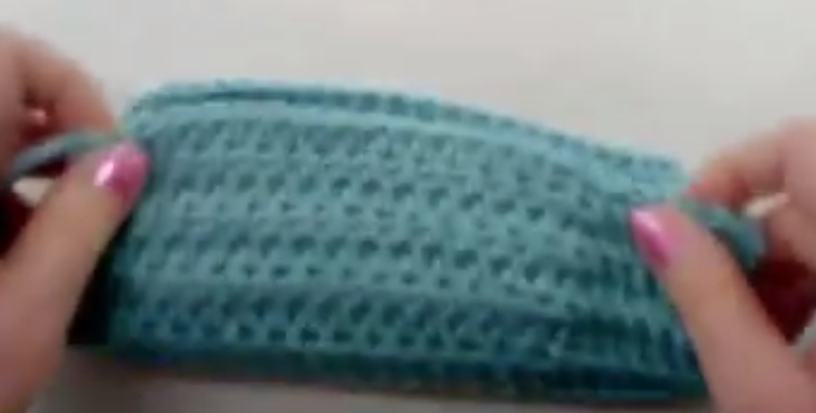
Fingerless Gloves worked as one piece including the cuff
In this tutorial I will show you how to crochet these easy fingerless gloves. They are worked in one piece including the cuff. I used a size J / 10 6.00 mm crochet hook to make these gloves. Stitches used in this project are the single crochet and the half double crochet stitch.
I have included a link to the same type of yarn that I purchased from Amazon to make the gloves in this tutorial. This yarn is so soft and perfect to make gloves. They also have many other colors available with this link. As an Amazon Associate I earn from qualifying purchases.

Fingerless Gloves worked as one piece including the cuff
Crochet hook size: crochet hook size : J / 10 6.00 mm
Material: 4 ply worsted weight yarn (in this tutorial I used Red Heart Soft yarn; in the color of seafoam)
Start
with a slip knot and chain 24.
ROW
1
sc into the
second ch from hook, then 1 sc in each chain to end of row. (you
should have 23 sc when you finish this row)
ROW 2
ch 1, turn, then 1 sc into the first 7 sts, working in the back loops only. Then 1 hdc until there are 2 sts remaining for this row, (this will be 1 hdc into the next 14 sts, until there are 2 sts remaining for this row) then 1 sc into the last 2 sts of this row.
ROW 3
ch 1, turn, then 1 sc into the first 2 sts, then 1 hdc into the next into the next 14 st, then 1 sc into the last 7 sts, working in the back loops only.
ROW 4 – ROW 20 – repeat row 2 and row 3 until you have 20 rows. Row 20 will be a repeat of row 2.
You can add more rows to make the glove larger.
Fasten off, leaving a long tail so that you can use the yarn tail to sew the glove together.
Finishing the glove – for help with finishing the glove – please click here to view the video tutorial https://youtu.be/xhjhraAzuC0 and skip ahead to timestamp at 28:30 minutes to see how to finish the glove and sew together to allow for the thumb opening.
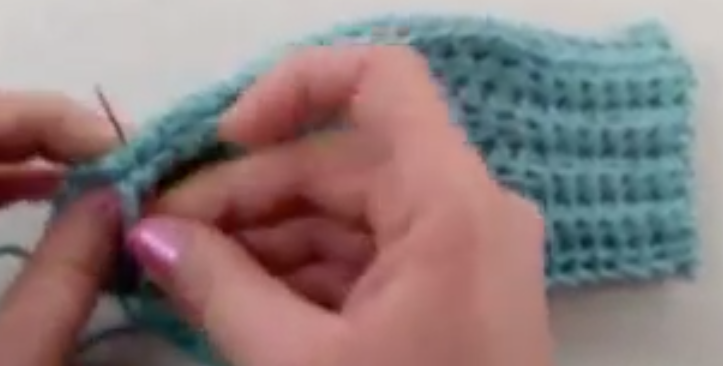
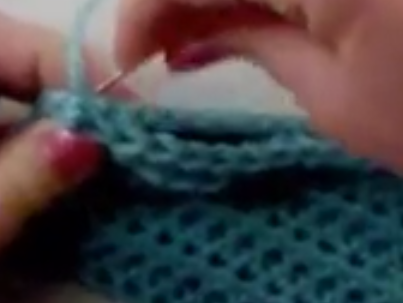
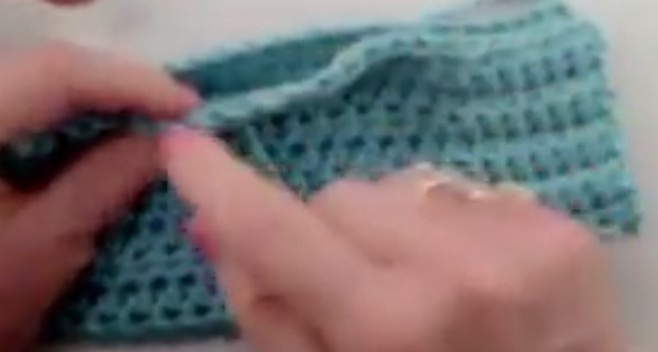
Fold the glove in half with the wrong side of the work facing out, then sew along the edge of the glove, sewing the first 7 sts together.

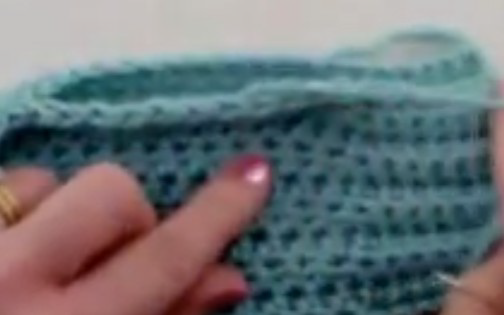
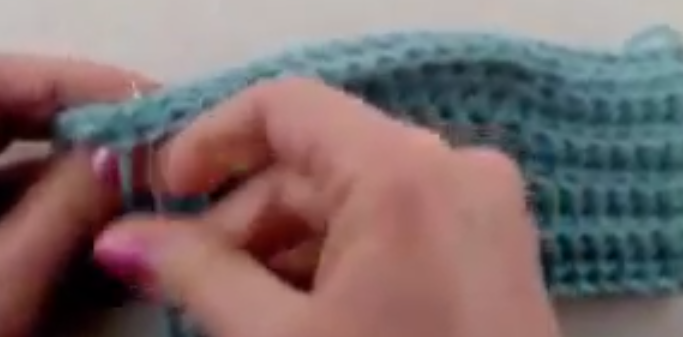
then skip the next 6 sts to allow for the thumb opening (you can weave the tail along one side of the glove and not through both edges for 6 sts, instead of cutting the tail, please see here in the video https://youtu.be/xhjhraAzuC0 and skip ahead to timestamp at 30:02 minutes if you would like to see this part in the video tutorial. (you can also skip and additional stitch or 2 if you need a larger thumb opening.)
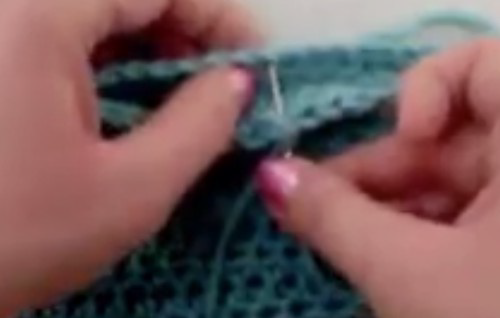


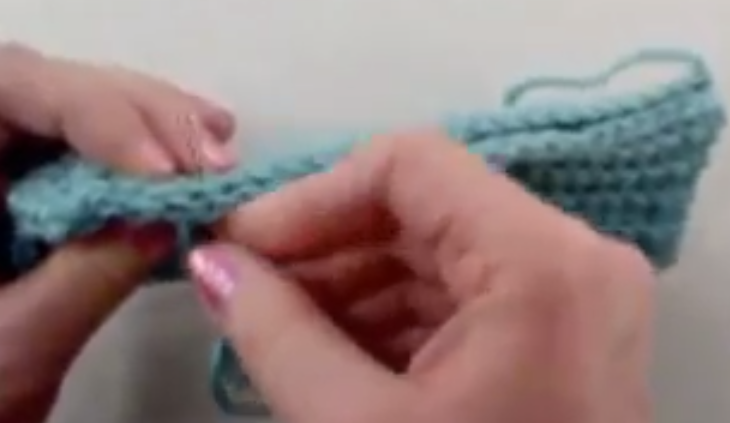
then sew the remaning stitches together along the edge of the glove working through both edges of the glove after the thumb opening.
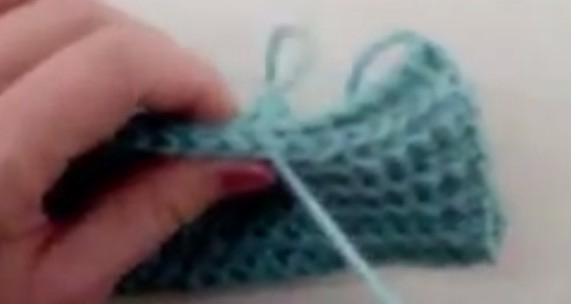
Then cut yarn and weave in ends.
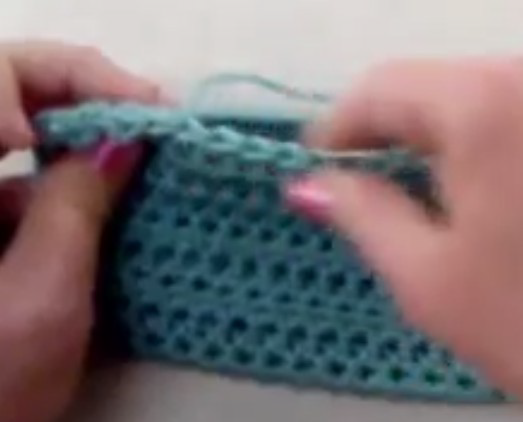
Then turn the glove inside out, since you want the right sides facing out and the sewing was done on the wrong side of the work.
Then repeat for the second glove for a set.
I have included a link to the same type of yarn that I purchased from Amazon to make the gloves in this tutorial. This yarn is so soft and perfect to make gloves. They also have many other colors available with this link. As an Amazon Associate I earn from qualifying purchases.

PDF Downloadable
Written Instructions for the
Crochet Fingerless Gloves Worked as One Piece Including the CuffDownload
